This project fits into a larger project of lowering home energy cost. I plan to drop the thermostat to below 60 when I’m away from home so that the gas furnace and blower don’t run for hours a day.
However, the ideal water temperature for a tropical betta fish is between 78 and 80 degrees Fahrenheit. This project will keep the aquarium warm even though the ambient air temperature may be below 60.
There are many aquarium heaters available commerically. Aside from the enjoyment of building something from scratch, there are good reasons to build a custom configuration:
-
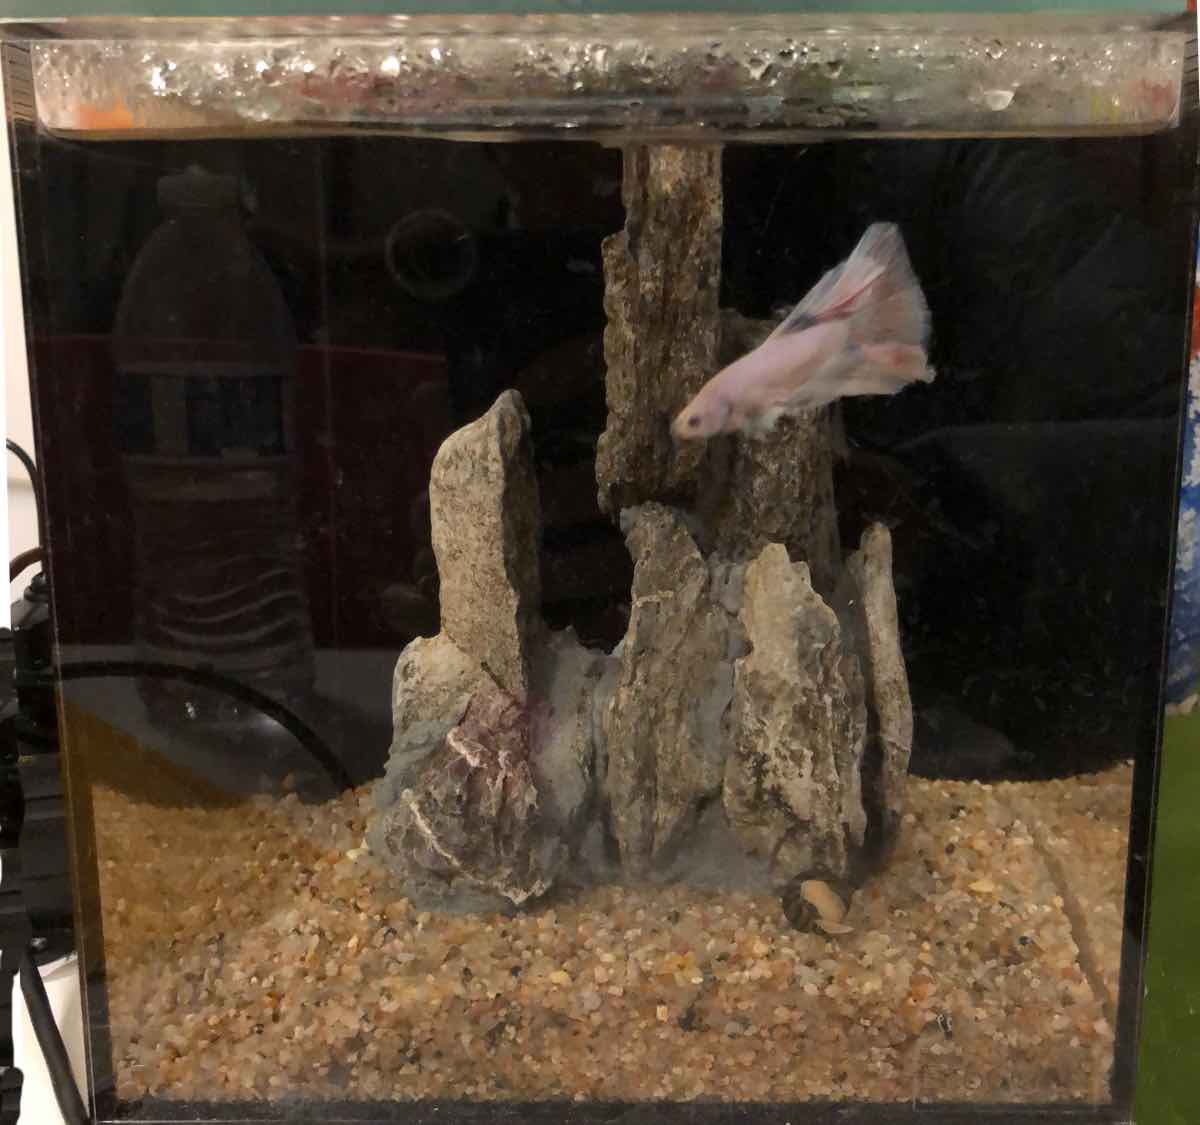
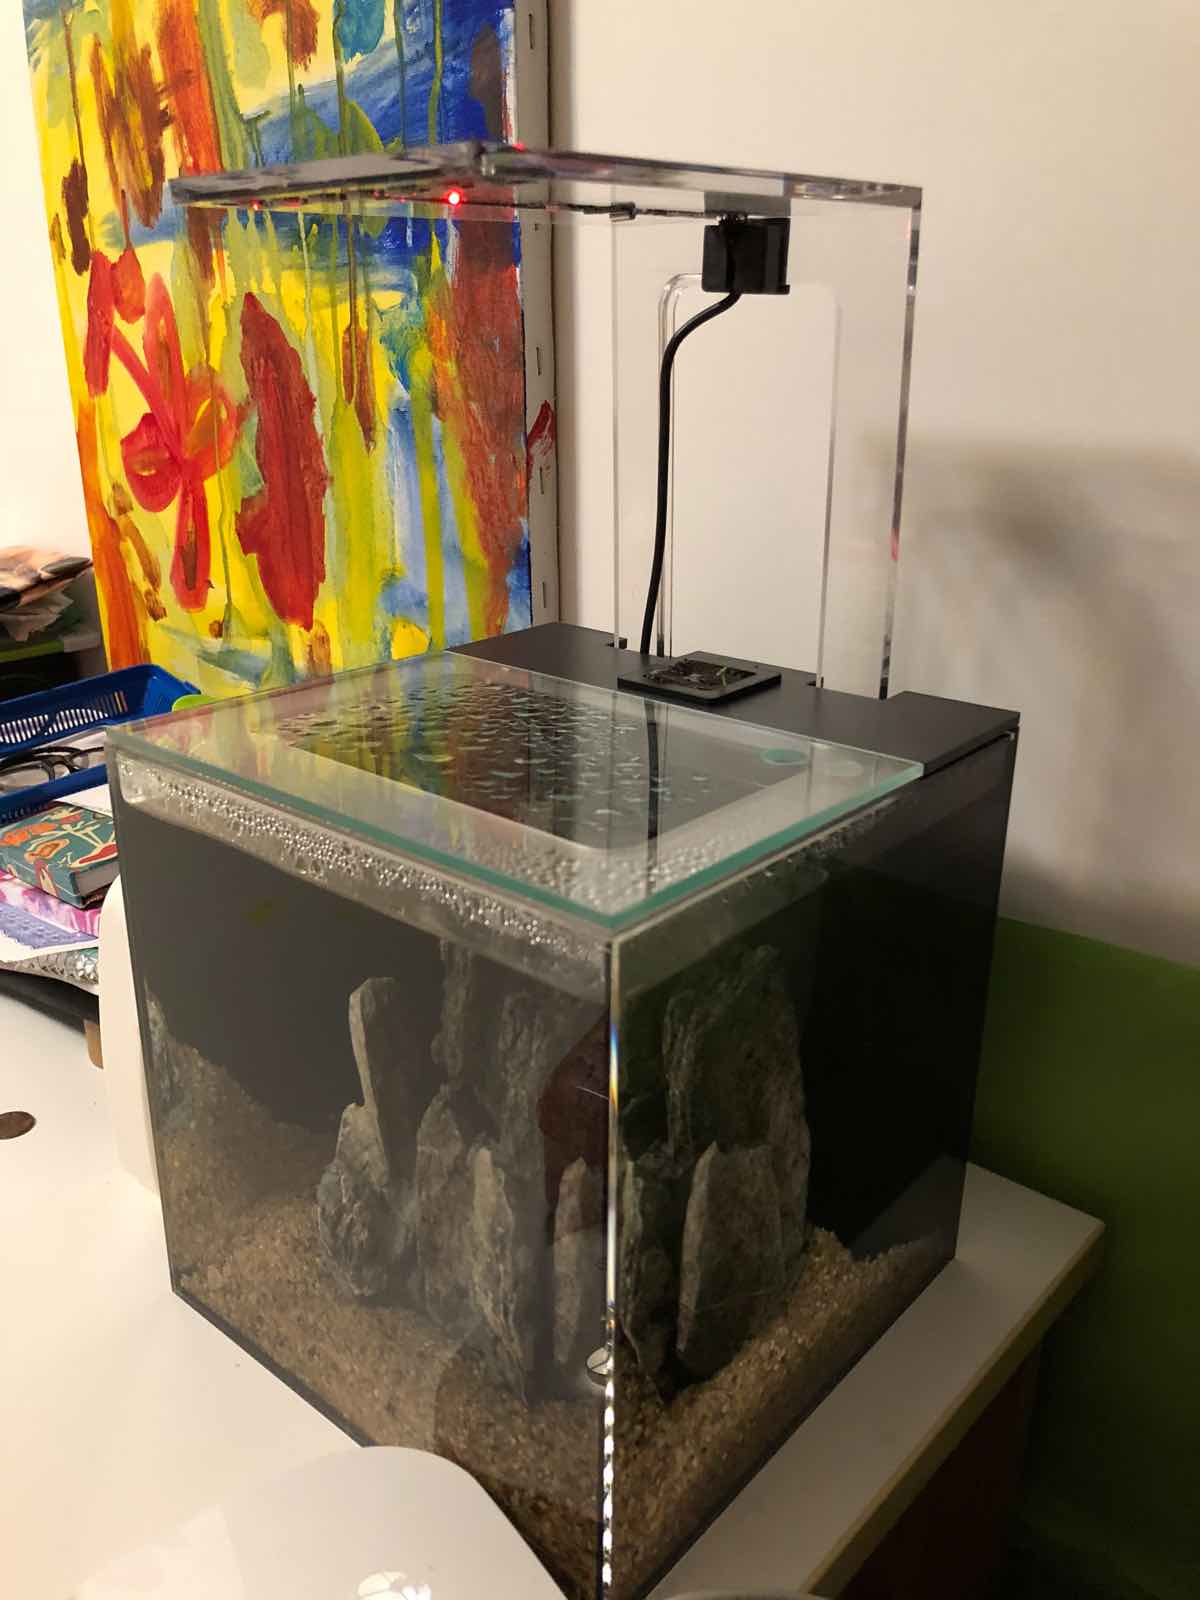
The aquarium I have, the Eqocube C, is tiny (1.5 gallons) and there are only a couple of heaters that can fit into the hidden compartment outside of view. Of those heaters, they have a low power output which reviewers have said doesn’t raise the temperature much more than a couple of degrees beyond the room temperature. We’ll be facing 60 degree or less room temperature.
-
I have heard that aquarium heaters can malfunction and either not heat or worse, not stop and bring the water temperature above the target. Having a thermostat that I can control and monitor will provide a safer environment for the fish.
-
In the future, I’ll add a video camera so my daughter can watch the fish while she is away and an automatic feeding mechanism.
Hardware
I used:
- Raspberry Pi Zero W $14
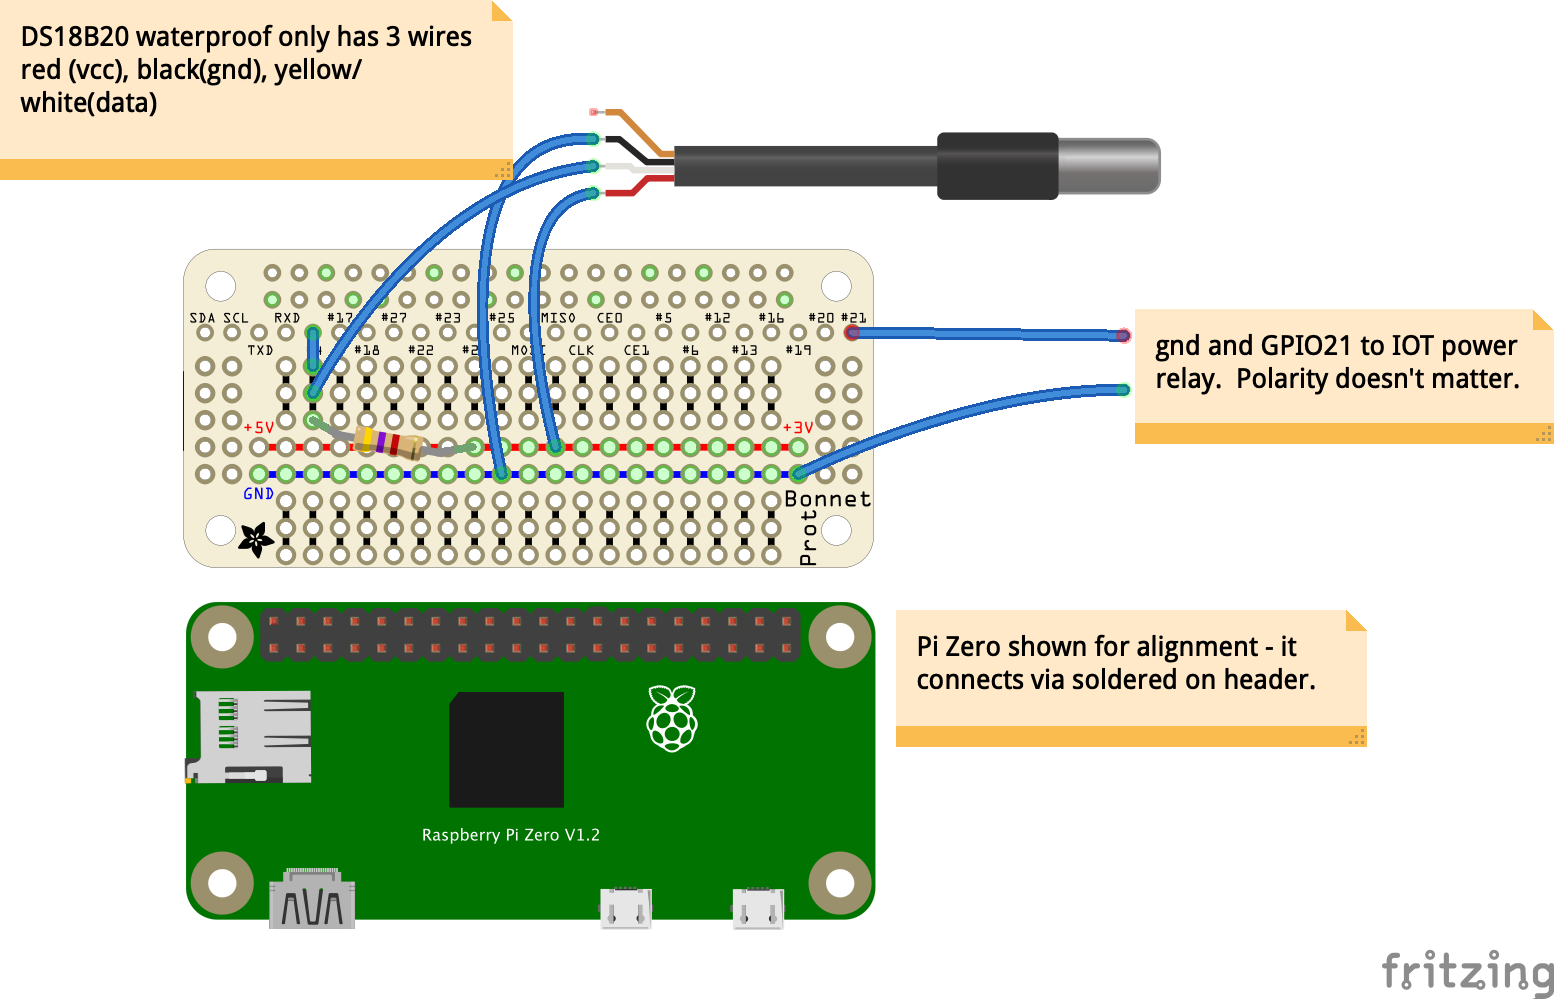
- DS18B20 waterproof temperature sensor $9.95
- IOT Power Relay to control AC power to heater $24.95
- Pro Temp Mini + Aquarium Heater - 30W $8.99
- Adafruit Raspberry Pi Zero case $4.75
- 5V 2.4A Micro USB power supply $7.50
- (Added 2/19/2019) Perma Proto Bonnet Mini to clean up the wiring. Total cost: ~$75

This was quick to set up although soldering was sketchy being that I didn’t have the necessary helping tools on hand and had to solder wire directly to header pins. This definitely is a hack that I will need to solder to a more permanent protoboard bonnet.
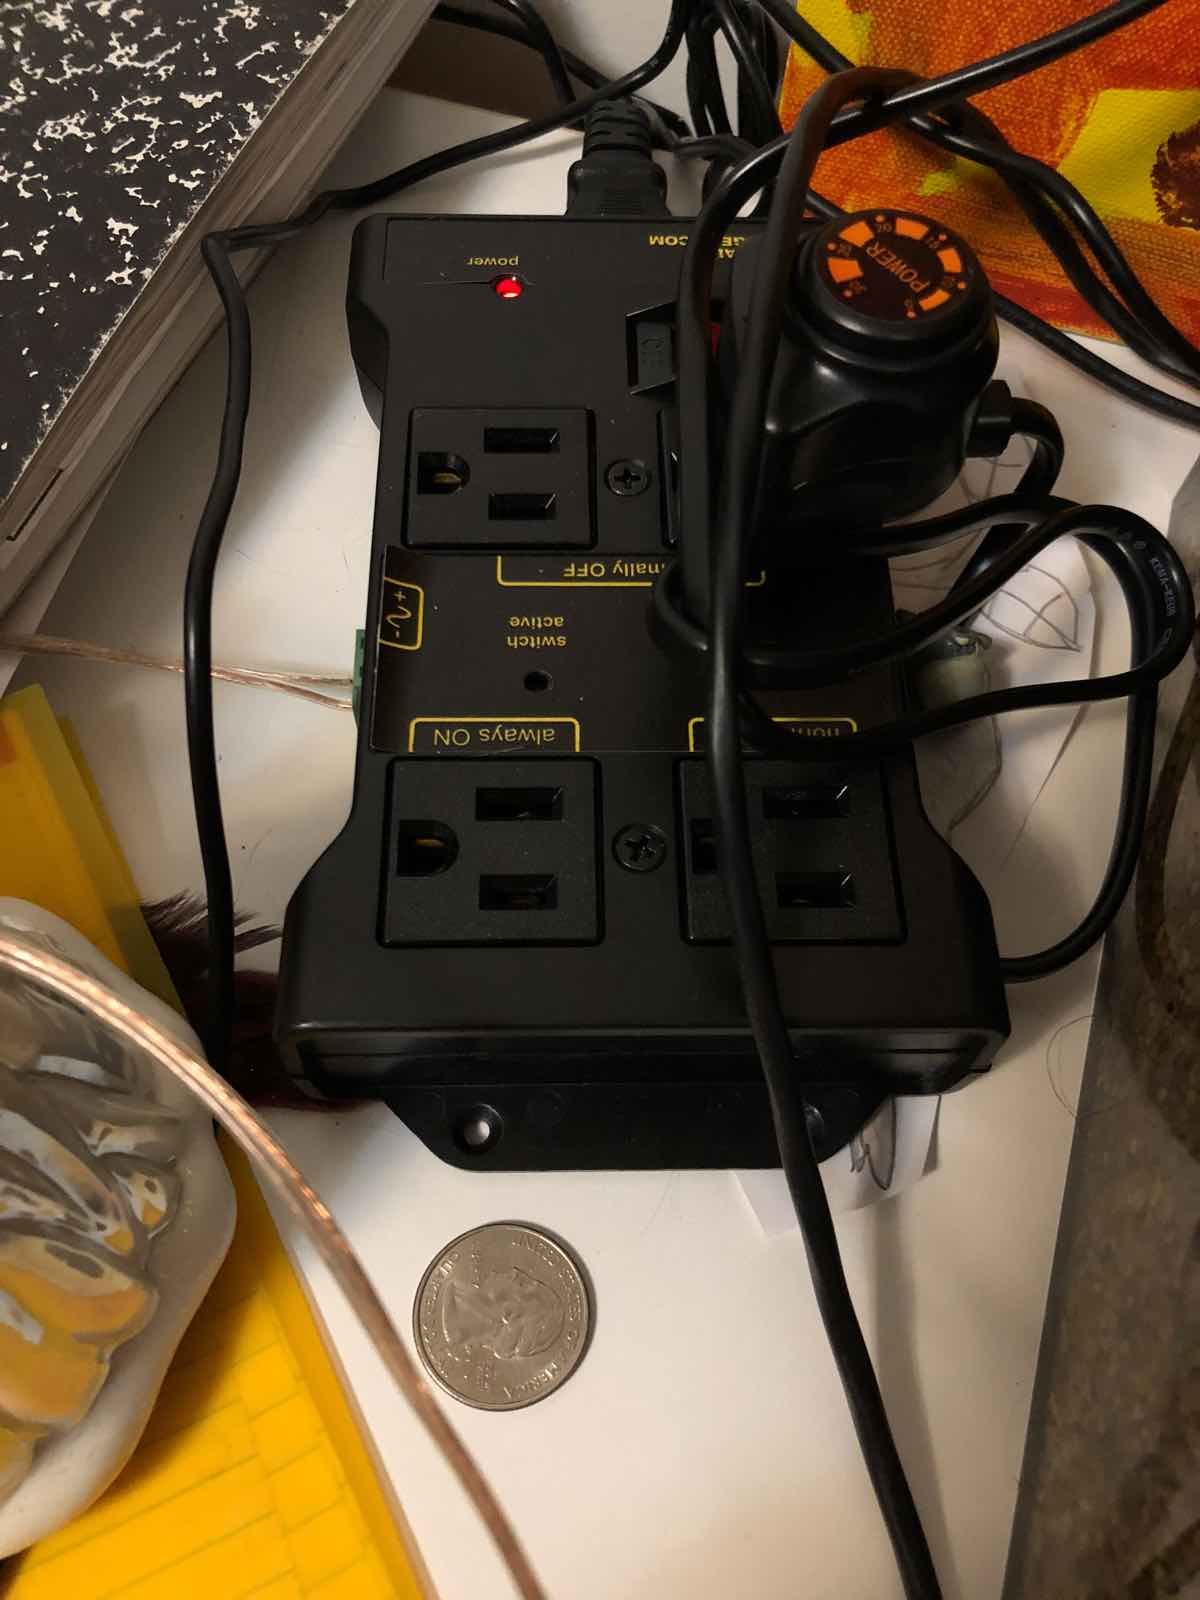
The Raspberry Pi controls the IOT Power Relay with one of its 3.3v GPIO pins. I’m so glad I don’t have to create circuitry that can safely switch 120VAC.
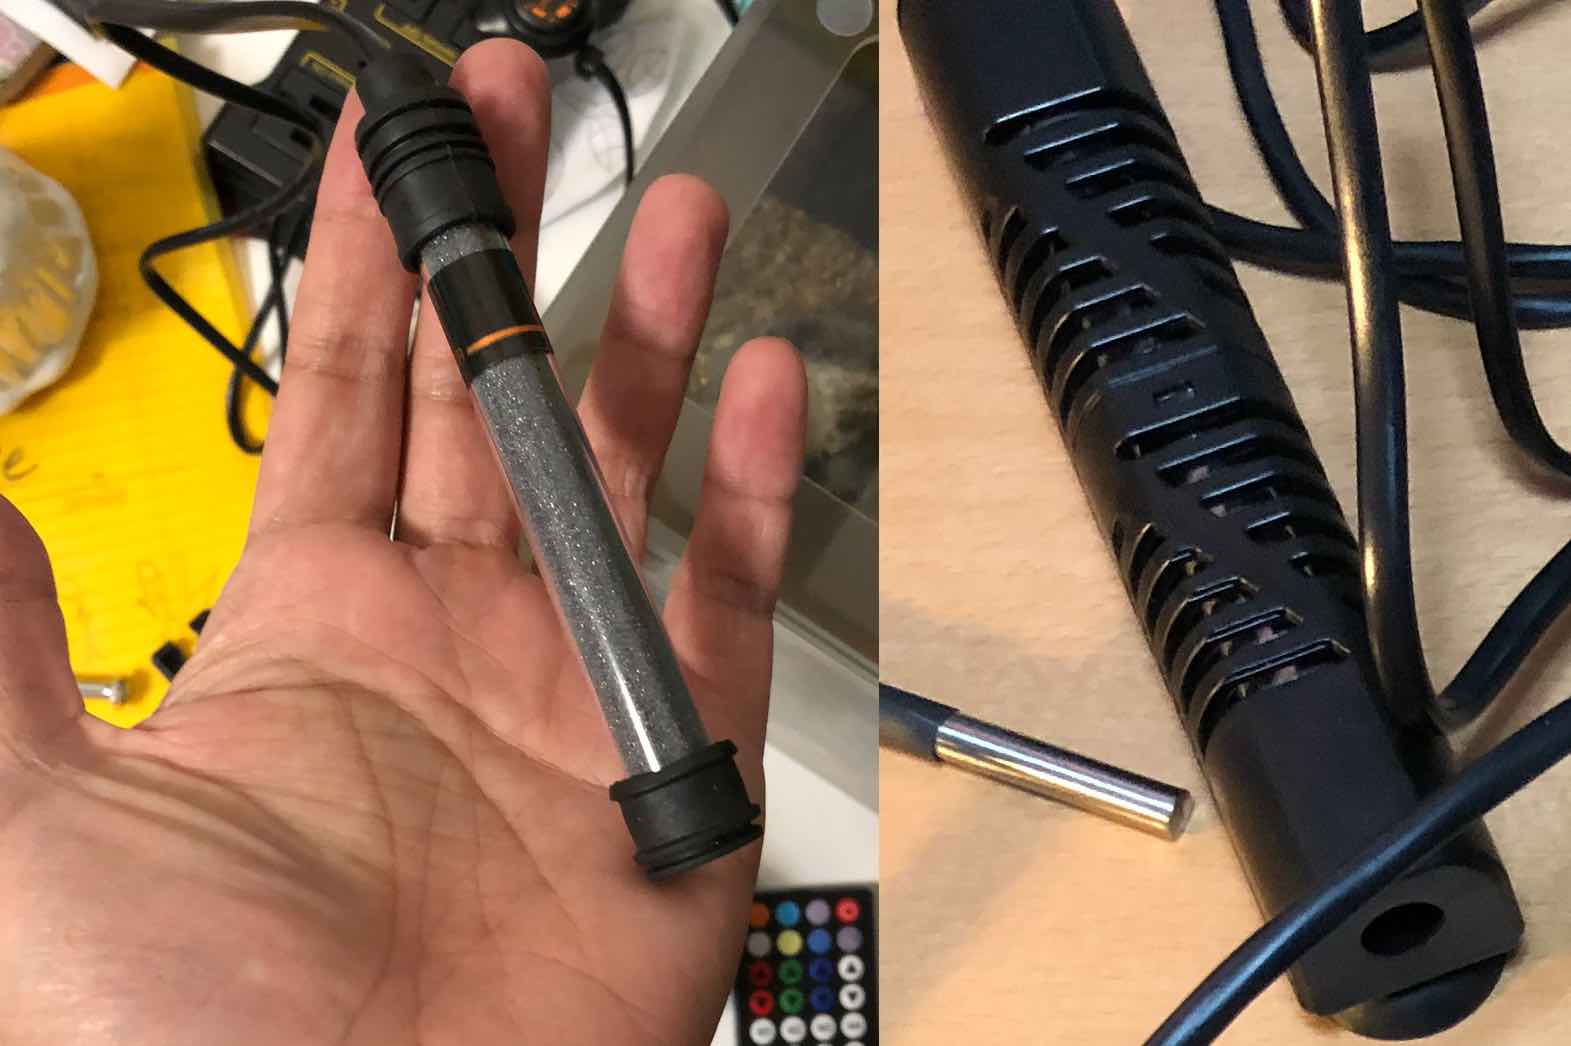
I needed to and fortunately was able to dismantle the heater because it was too large for the compartment in the aquarium. If I had placed it inside the aquarium, it would fit but would also look conspicuous in the small space.

The heater goes in the compartment next to the pump outlet and the temperature sensor goes next to the carbon filter near the return inlet.
Update 2/19/2019:
Here is a diagram of how the components are connected to the Proto Bonnet. Keep in mind the particular GPIO pins used are dependent on the software configuration. If you use different GPIO pins, you’ll have to adjust the software or vice-versa.
Software
A script measures temperature data every 10 seconds and posts to an InfluxDB server. The InfluxDB server runs on another Raspberry PI, used in the larger energy cost project.
The control logic is nothing fancy. It turns the IOT Power Relay on or off based on the measured temperature with a bit of leeway to prevent the relay from cycling too often. Since the temperature sensor oscillates +/- .1 degree over a 10-20 second period, the script doesn’t act until the temperature has moved .2 degrees. The heater turns on at 78.7F and off at 78.9F.
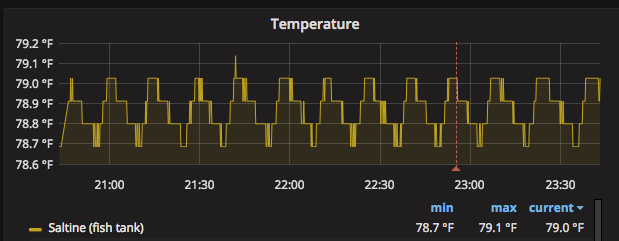
With the heating and cooling cycle, it takes about 3 minutes to heat up .2 degrees and 12 minutes to cool off. The “click…click” of the relay cycling every 15 minutes is infrequent enough that it isn’t annoying.
Every time around the loop, I post a heartbeat to healthchecks.io. This service will send email if the script stops working for more than a few minutes. The Raspberry Pi should be set up to fail open (i.e. turn off heater) if it hangs as a safety measure, but I haven’t determined how to implement that watchdog behavior yet.
Source code at https://github.com/clarsen/aquarium-heater